A custom tarp drawing guide should help a buyer turn field measurements into a production-ready drawing before quotation, sampling, and bulk production. The drawing does not need to look like an engineering blueprint, but it should show the finished tarp size, custom tarp dimensions, grommet spacing, reinforced edges, material notes, cutouts, and revision number. Without those details, the factory may understand the application but still miss the exact fixing points or repeat-order standard.
In our factory, I prefer a simple tarp measurement drawing over a long written description. A photo shows the site, but a drawing controls the size, tolerance, hole position, and approved construction. That is what lets the cutting, welding, punching, inspection, folding, and packing teams produce the same tarp again instead of guessing from one sample.
I. Mark Finished Tarp Size, Units, and Custom Tarp Tolerance
The first dimension on the drawing should be the finished tarp size after welding, hemming, and edge folding. Do not show only the machine size, frame size, opening size, or cargo outline unless you also explain how much allowance the finished cover needs. A clear custom tarp tolerance tells the supplier whether a few millimeters matter or whether the cover can accept normal fabrication movement.
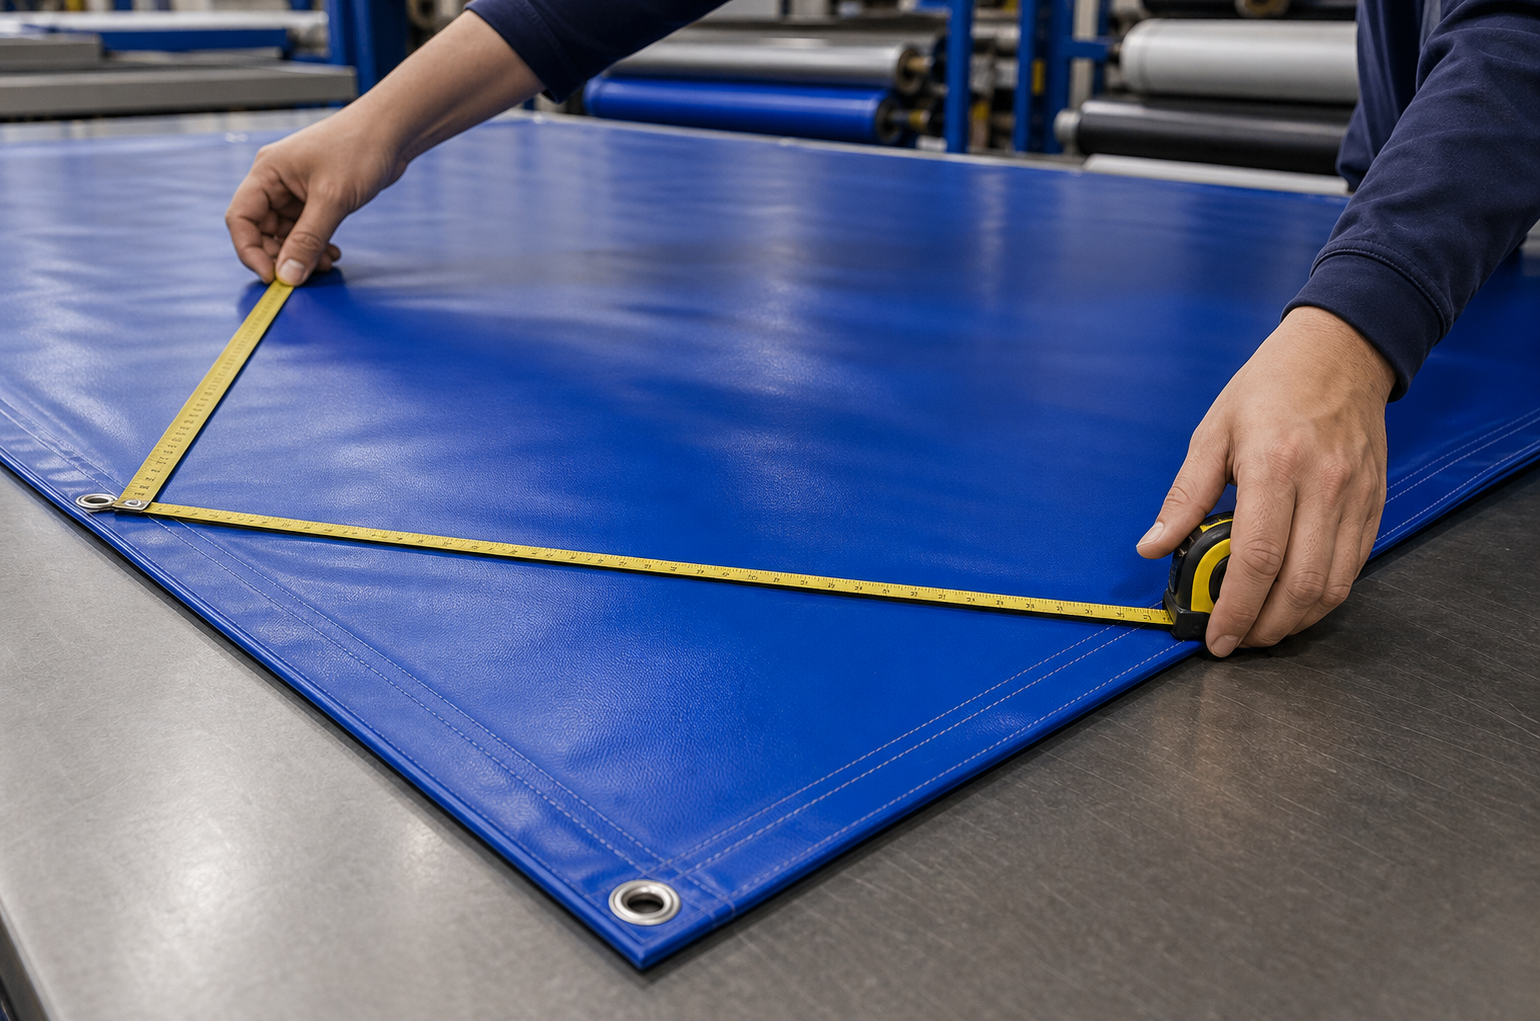
This distinction matters because welded hems, reinforced corners, webbing, straps, and seams can change how the cover sits in the field. If the drawing does not say whether the number is finished size, cutting size, or installed size, two suppliers can quote different covers from the same request. For repeat orders, I also like to see the unit, orientation, part number, and drawing date on the same page.
II. Put Tarp Grommet Spacing and Hole Centers on the Drawing
A tarp hole spacing drawing should show the distance from the edge to the hole center, spacing between holes, corner-hole position, and the hardware type. If the project uses metal eyelets, plastic grommets, D-rings, webbing loops, or straps, mark each position clearly instead of writing “grommets around edge.” That small note can mean very different layouts in production.
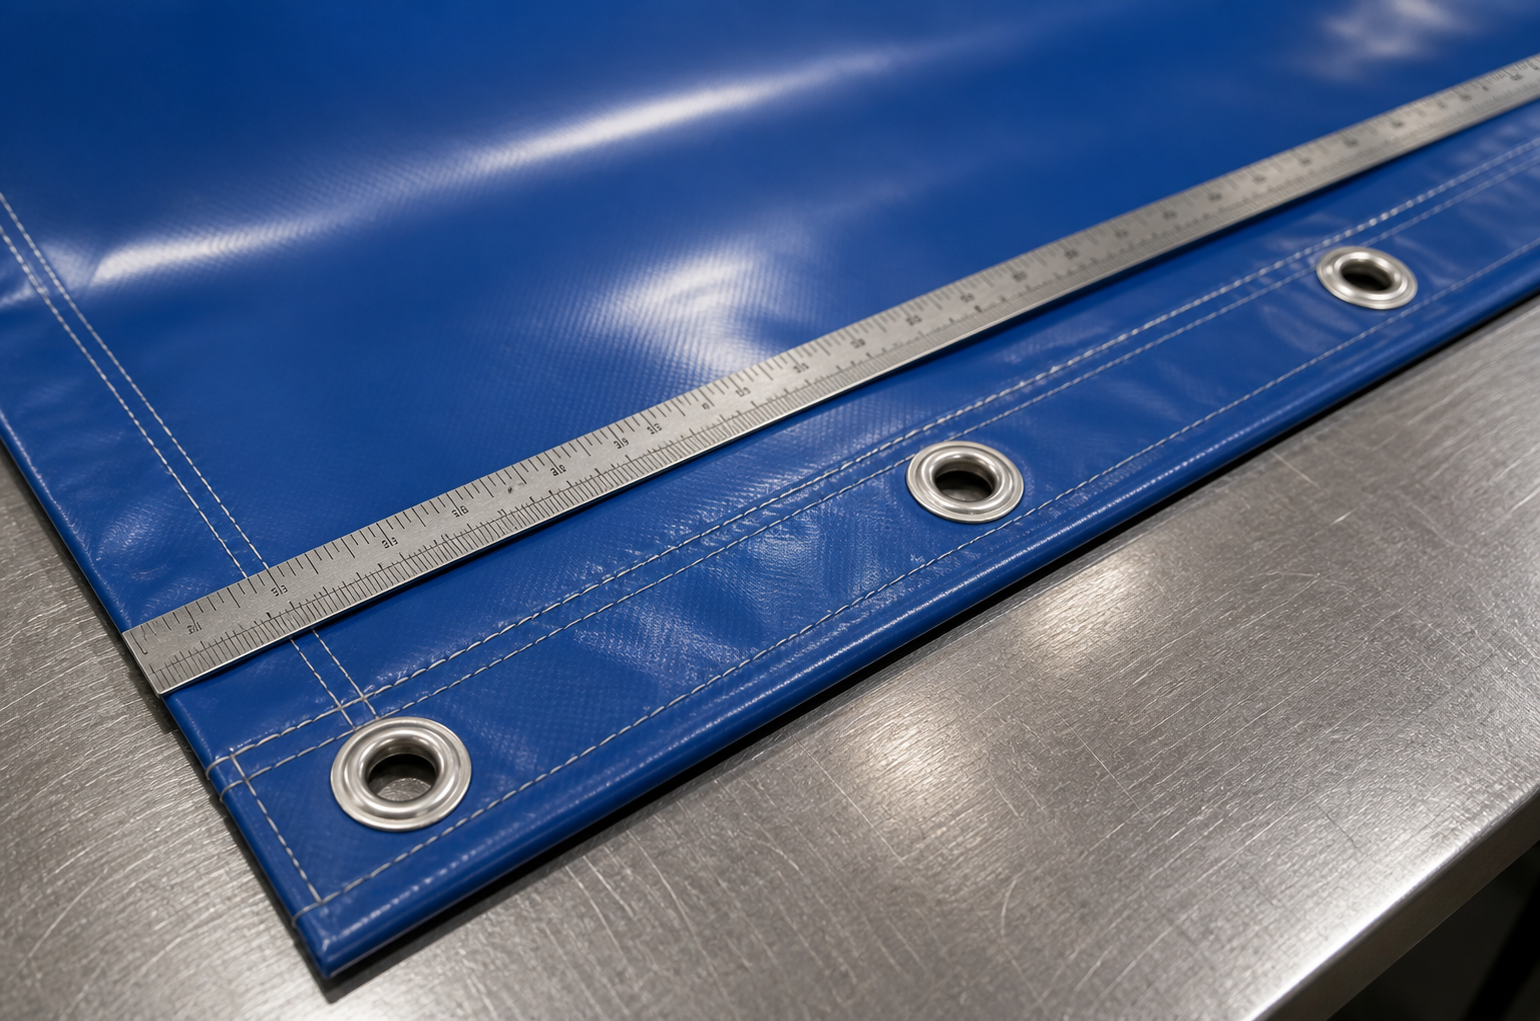
For covers fixed in wind or frequent handling, tarp grommet spacing should be a measured item, not a decoration decision. If the hole row is too close to the edge, the reinforced hem may not have enough material around the eyelet. If spacing is too wide, pulling force concentrates at fewer points. A clear metal eyelet position also helps the QC team check whether the finished tarp matches the approved drawing.
| Drawing item | What to mark | Why it matters |
|---|---|---|
| Finished tarp size | Length, width, drop height, unit, and custom tarp tolerance | Avoids confusion between opening size, cutting size, and final cover size |
| Hole layout | Tarp hole spacing drawing, grommet spacing, edge distance, and metal eyelet position | Controls installation fit and load transfer at fixing points |
| Reinforced edge | Single hem, double hem, webbing, rope-in hem, corner patches, or welded strip | Affects strength, weight, cost, folding, and repeated handling |
| Material and seam | PVC coated fabric, GSM target, heat welded tarp seam, or other seam method | Keeps the tarp specification drawing connected to real fabrication choices |
| Approval record | Revision number, approval date, sample reference, and bulk custom tarp specification | Keeps quotation, sample confirmation, production, and inspection aligned |
III. Show Reinforced Tarp Edge Details, Corners, and Cutouts
A reinforced tarp edge should be drawn, not assumed. Single folded hem, double folded hem, rope-in hem, webbing reinforcement, corner patch, and welded strip are not interchangeable. They influence cost, weight, packing volume, and how the tarp survives repeated pulling during installation and removal.
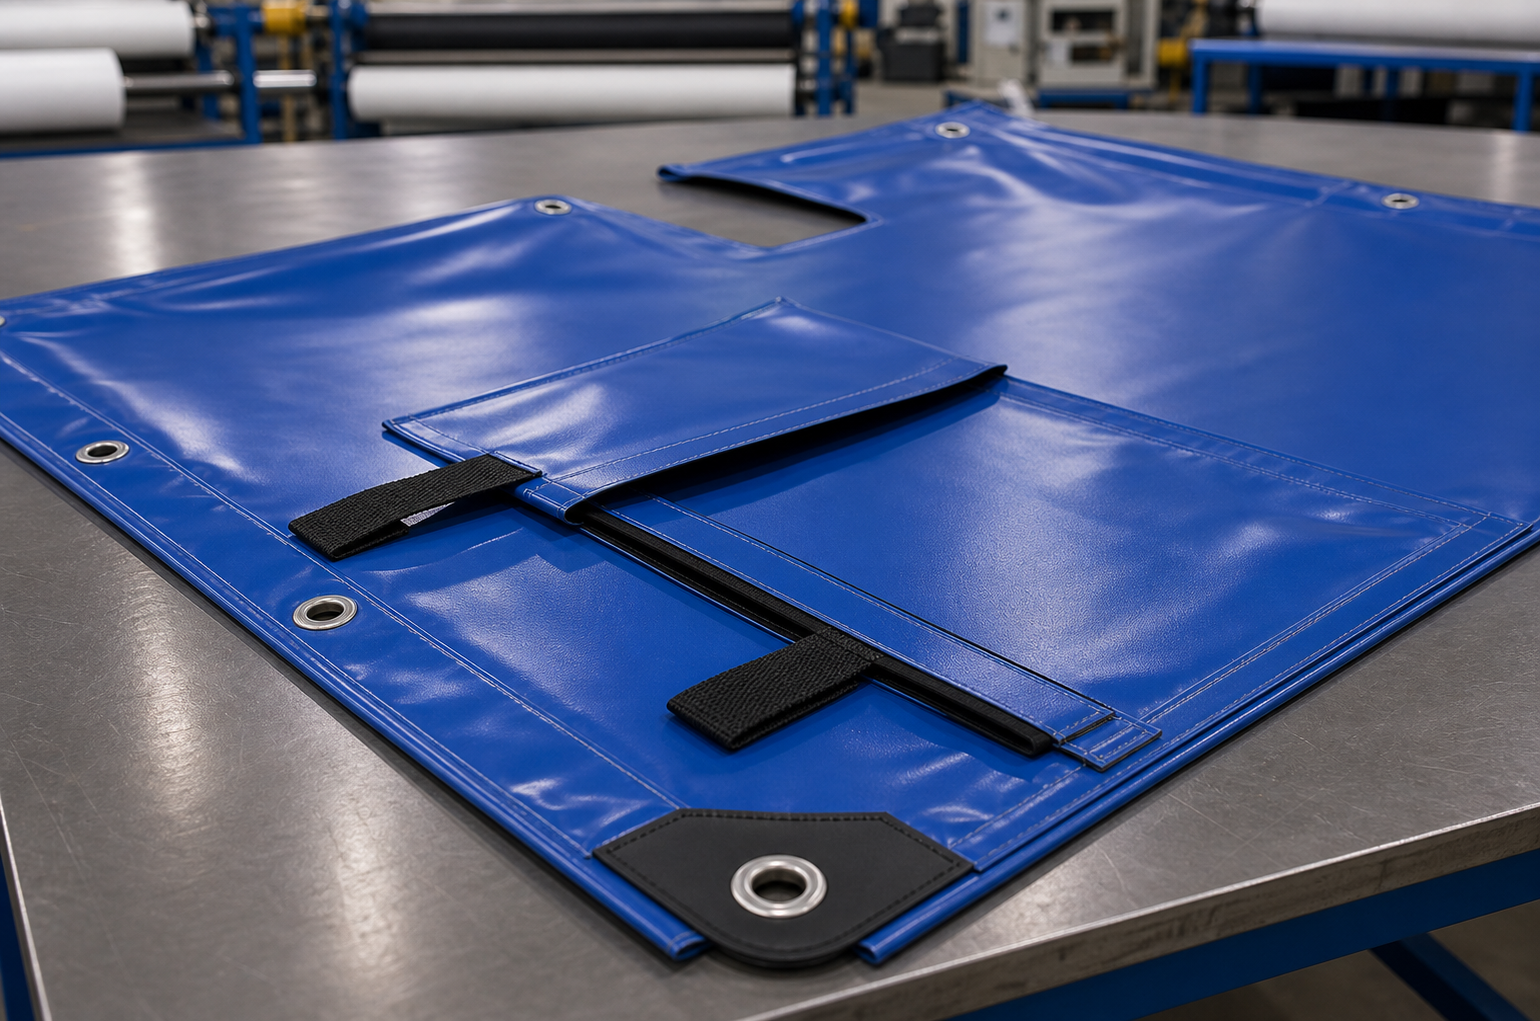
Many custom tarp problems start at the corners and irregular parts, not in the flat center panel. If the tarp needs a pipe opening, zipper access, strap, Velcro, flap, ventilation gap, transparent window, or shaped corner, put it on the drawing with dimensions and a close photo from the site. A drawing is most useful when it matches how custom-made tarps will be cut, welded, reinforced, and packed.
IV. Match the PVC Tarpaulin Drawing With Material and Welding Choices
A PVC tarpaulin drawing should connect the shape of the cover with the material and fabrication route. PVC coated fabric can be cut, welded, sewn, punched, printed, and fitted with accessories, but the drawing still needs to show which areas carry tension, where seams can be placed, and whether the buyer expects a heat welded tarp seam, high-frequency welded seam, sewn section, or mixed construction.
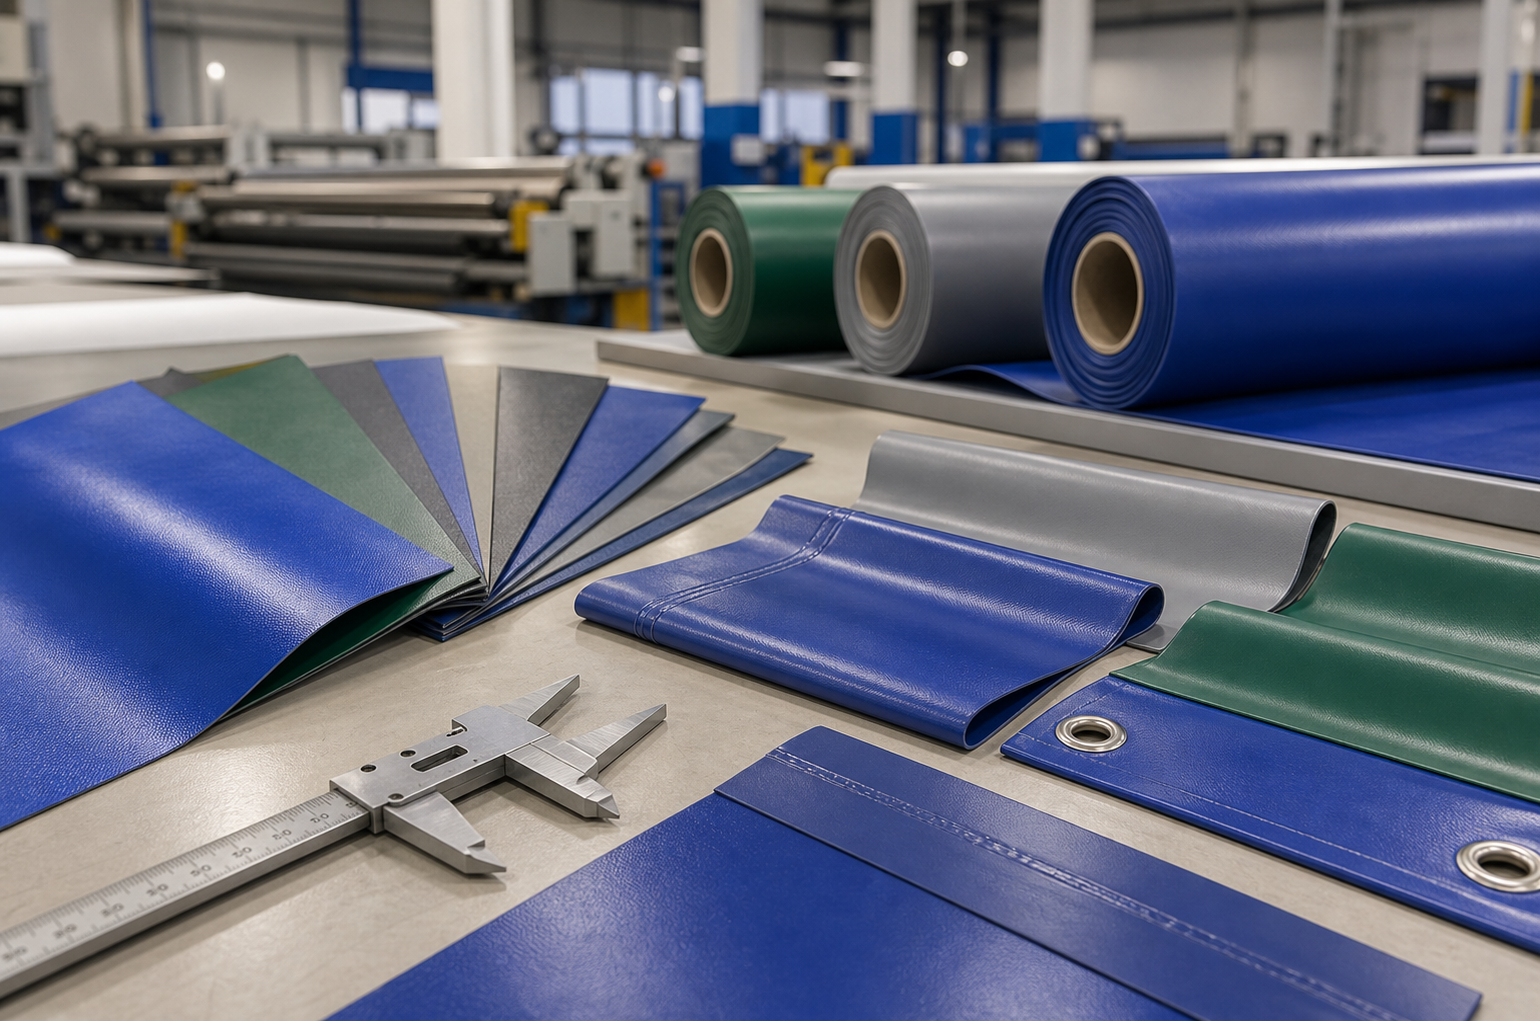
Do not use GSM as the only quality reference in the drawing notes. The same GSM can behave differently when base fabric, coating formula, peel strength, welding method, and finishing process change. I prefer drawings that list the application, expected exposure, material target, edge construction, and seam notes together, because those details help the supplier choose a realistic production route before quoting.
V. Use Revision Control for Sample Confirmation and Bulk Production
The final drawing should work as a tarp specification drawing for sample approval and later repeat orders. Before sample confirmation for custom tarps, mark the drawing version, approval date, revised dimensions, changed hole positions, and any new edge or packing instruction. If several sizes belong to the same project, give each size its own code instead of mixing all changes in email messages.
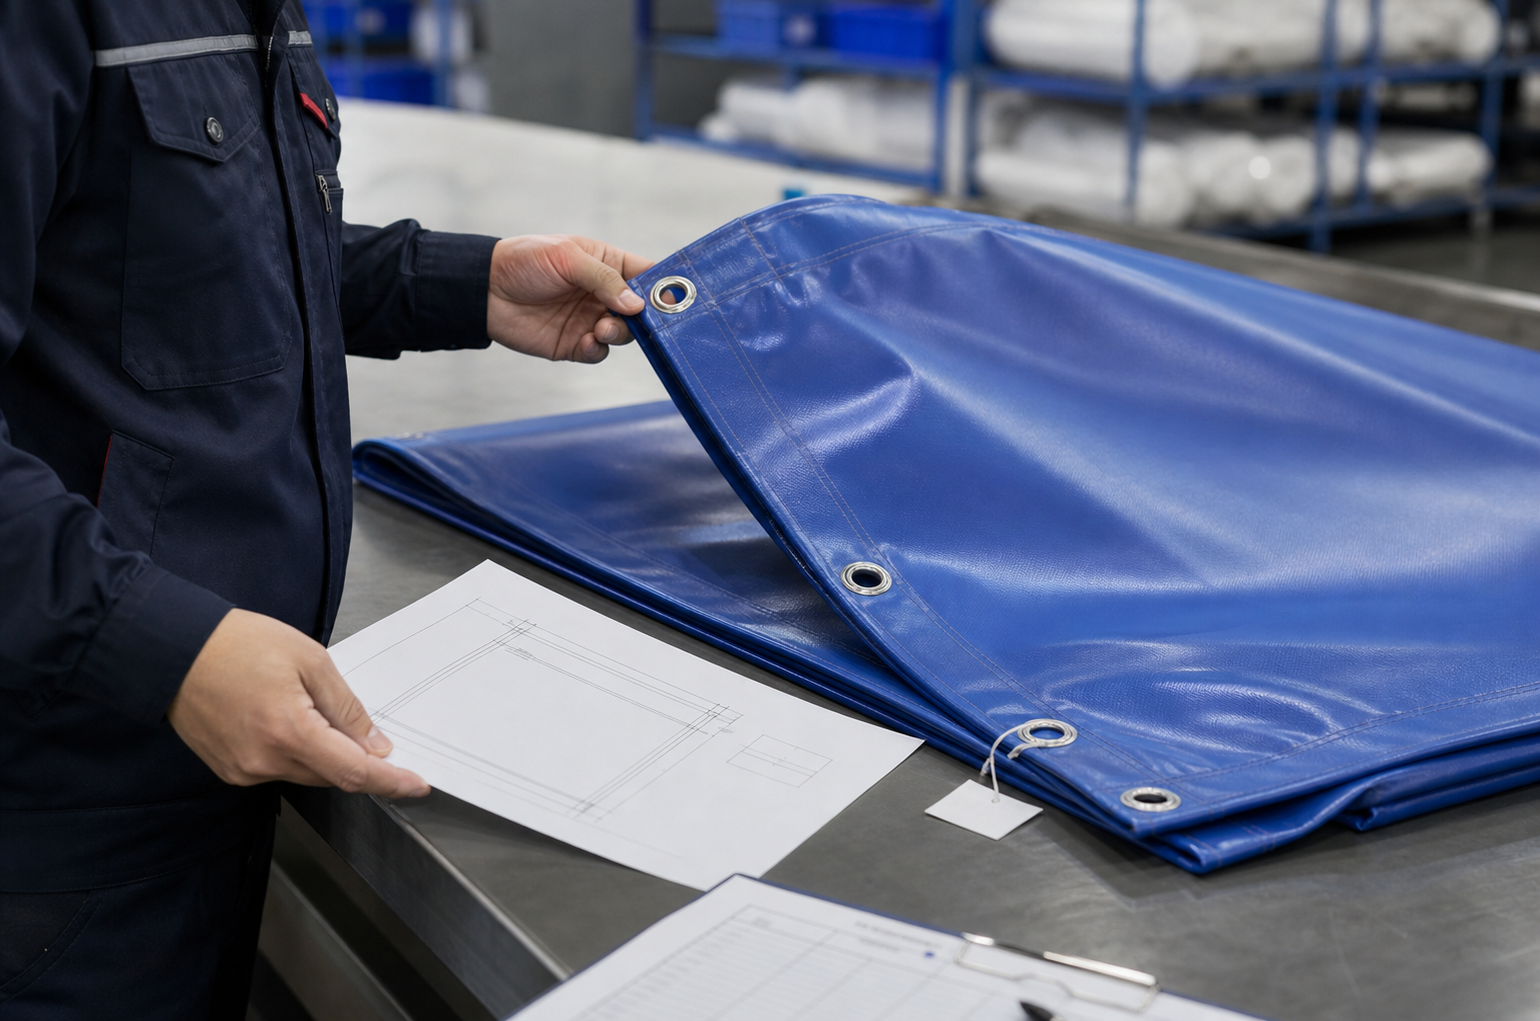
Photos are still useful, but they should support the drawing rather than replace it. A photo can show abrasion on machinery or where a cover bends around a frame. The drawing then turns that field information into manufacturable size, position, material, and construction details. For a bulk custom tarp specification, that record is what keeps quotation, sample, production, quality control, packing, and reorder communication on the same page.