Pillow tank maintenance is more than washing the outside after a job. A workable program covers pre-use inspection, controlled draining, cleaning that matches the stored liquid and tank material, complete drying, protected storage, damage grading, and verification after repair. If one of those steps is skipped, a tank can look serviceable while a fitting reinforcement, weld, fold line, or contaminated interior is already creating the next failure. The safest way to maintain a pillow tank is to keep the procedure tied to its material specification, liquid history, operating conditions, and the tank manufacturer’s approved instructions.
Start With the Stored Liquid and Tank Material
Before choosing a brush, cleaner, disinfectant, or patch, identify what the tank held and how the complete containment system was built. Water, potable water, process liquid, fuel, and chemicals do not share one safe cleaning procedure. Residue that is harmless in one service may become a contamination problem in the next, while a cleaner that works on one coating or fitting may extract additives, swell the surface, weaken an adhesive, or leave an unacceptable odour in another system.
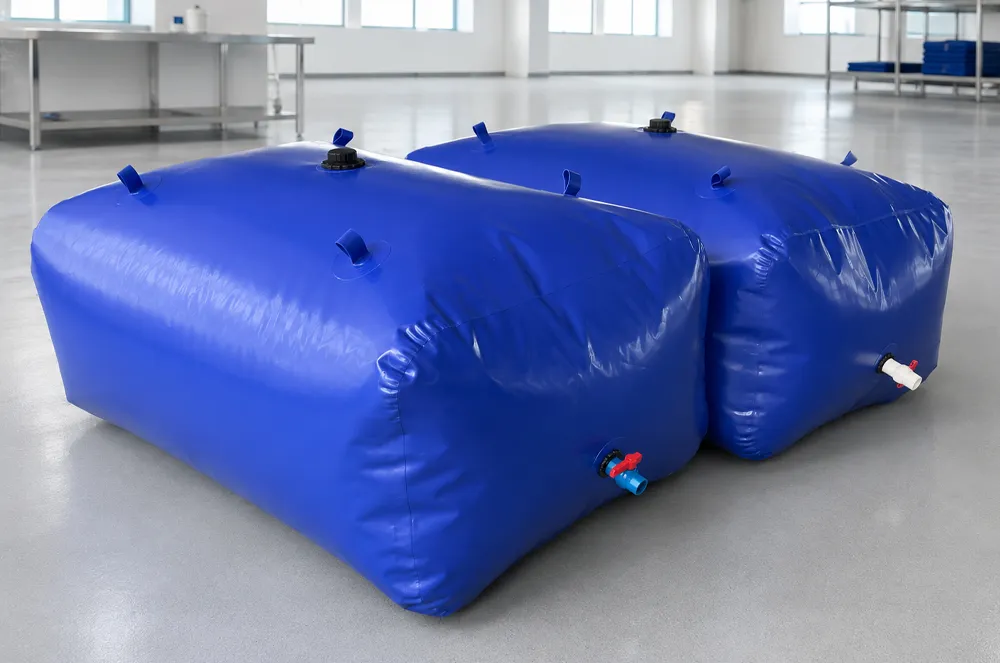
The same caution applies to the words PVC and TPU. They describe material families, not a complete compatibility certificate. Coating formulation, reinforcement fabric, weld construction, valve materials, seals, previous liquid contact, temperature, and contact time all matter. For drinking-water service, cleaning and disinfection must follow the approved procedure for the complete contact system and the target market. For fuel or chemical service, obtain a written compatibility and decontamination procedure before work begins.
This is the first rule in how to maintain a pillow tank: never transfer a cleaning recipe from an unrelated tank merely because both products are flexible. Record the tank ID, material specification, last liquid, next intended liquid, and the approved cleaning reference before the crew opens a cleaning container.
Pillow Tank Inspection Checklist Before and After Use
A useful pillow tank inspection follows the load path rather than looking only for holes. Start with the ground-contact surface, then move to fold lines, panel surfaces, welds, corners, fitting reinforcements, valves, flanges, caps, and hose connections. Check both before filling and after draining. When possible, compare the condition with the previous inspection record instead of relying on memory.
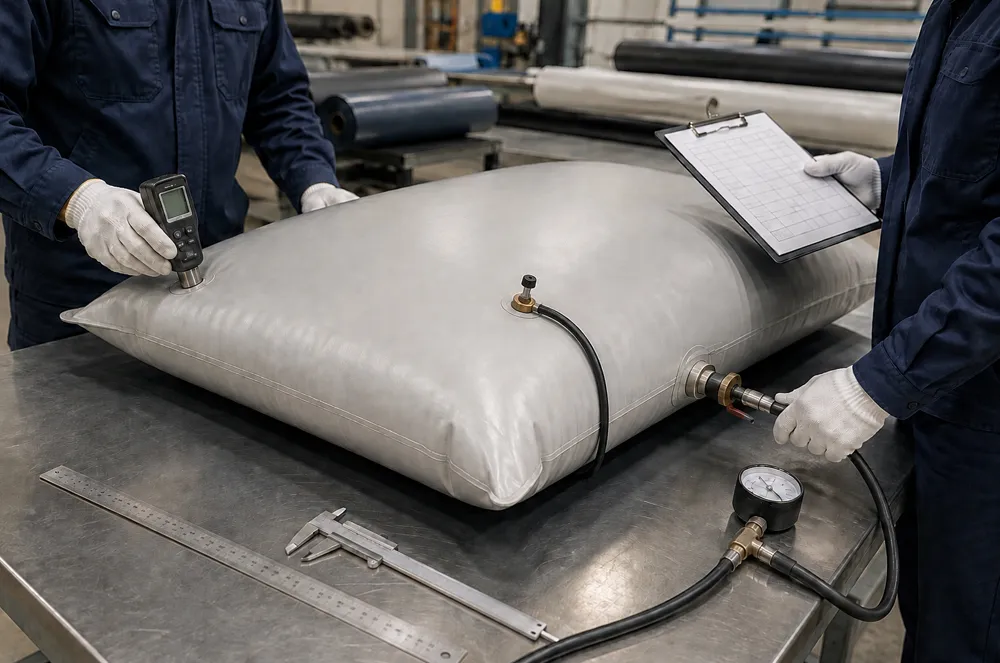
| Inspection area | Warning signs | Recommended action |
|---|---|---|
| Ground-contact surface | Scuffing, cuts, embedded grit, punctures, local thinning | Remove the tank from service until the surface and site are assessed; correct the ground protection before reuse |
| Fold lines and panel surface | Whitening, hard creases, coating cracks, blistering, delamination | Mark the area, photograph it, and request material-specific evaluation before refolding or filling |
| Welded seams and corners | Edge lifting, seepage, distortion, concentrated bulging | Stop filling or isolate the tank; seam damage is not a routine cosmetic patch |
| Valve and flange reinforcement | Rotation, leakage, pulled fabric, distorted reinforcement | Support connected hoses, depressurize the line, and obtain manufacturer review |
| Tank shape during filling | Uneven rise, local stretching, rolling, unexpected movement | Stop the fill and check slope, obstruction, fill rate, hose load, and overfill risk |
| Stored tank and packaging | Moisture, odour, pests, UV exposure, chemical contamination | Quarantine until cleaned, dried, and inspected; replace contaminated packaging |
Common pillow tank problems often appear first as a change in shape, feel, or surface condition rather than a visible stream of liquid. A small wet mark near a fitting, a new hard fold, or a panel that rises differently from the last deployment deserves attention. During first filling after storage, keep a trained person present and increase the level gradually. A filled static tank should not be dragged, lifted, or casually repositioned; the liquid mass changes the load on the fabric, seams, fittings, and site.
How to Drain, Clean, and Dry a Pillow Tank
Safe draining starts with the liquid, not the tank. Confirm where the remaining contents and rinse water may legally and safely go, isolate connected equipment, and support hoses so their weight does not pull on a fitting. Use the intended outlet and a controlled flow. Do not force the last liquid out by walking on the tank, driving over it, or creating unapproved internal pressure.
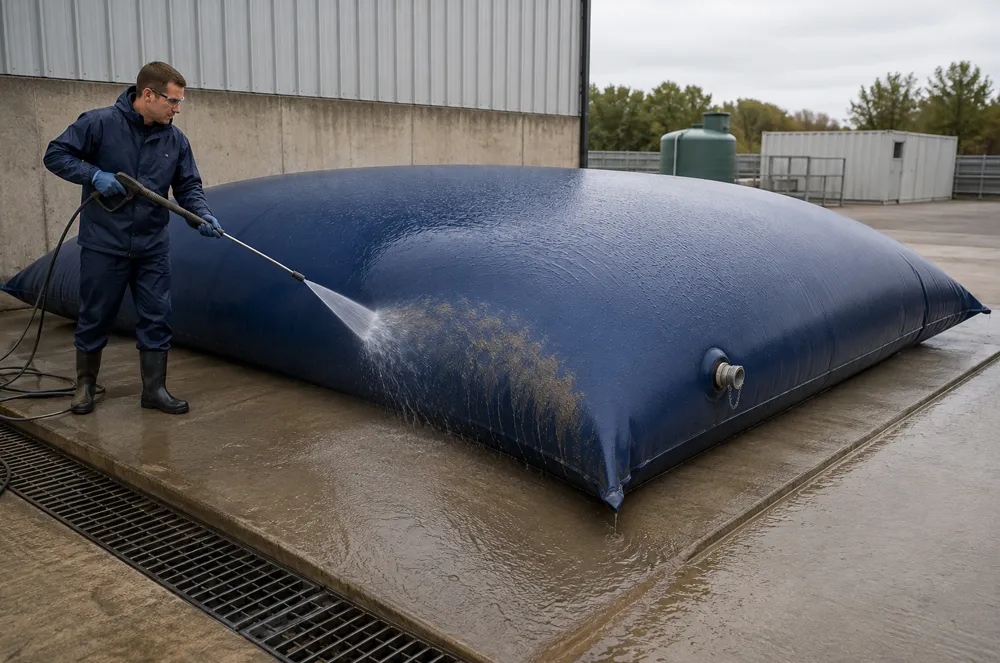
For exterior cleaning, remove loose grit before rubbing the surface. Use clean water, a soft tool, and only a cleaner approved for the tank materials. Abrasive pads and aggressive solvents can turn a cosmetic cleaning job into coating damage. Pay particular attention to the bottom surface, valve guards, caps, and reinforcement edges, where dirt can hide and later abrade the folded tank.
How to clean a pillow tank internally depends on the liquid history and access arrangement. A non-potable industrial water tank may require a drain-and-rinse process followed by an approved cleaner when residue remains. A potable-water tank needs a validated cleaning and disinfection procedure for the complete contact system. Fuel and chemical tanks require their own compatibility, ventilation, residue handling, and worker-safety controls. There is no responsible universal bleach concentration, soak time, pressure-wash setting, or sun-drying rule for all pillow tanks.
Pillow tank cleaning is not complete until the interior, exterior, fittings, and caps are dry enough for the approved folding and storage method. Trapped moisture supports odour, microbial growth, staining, and package contamination. Use the manufacturer’s permitted ventilation arrangement; do not introduce hot air, excessive pressure, or equipment that can damage the coating. Inspect the dry surface again before folding so cleaning damage is not hidden inside the package.
How to Store a Pillow Tank Without Causing Crease Damage
Pillow tank storage begins only after the tank is clean, dry, and released by inspection. Close or protect valves and fittings so they cannot cut, press into, or contaminate the fabric. Fold along the approved pattern without trapping hardware between layers. A neat-looking package is not the goal; the goal is to avoid sharp, repeated stress lines and to keep heavy objects from sitting on the folded tank.
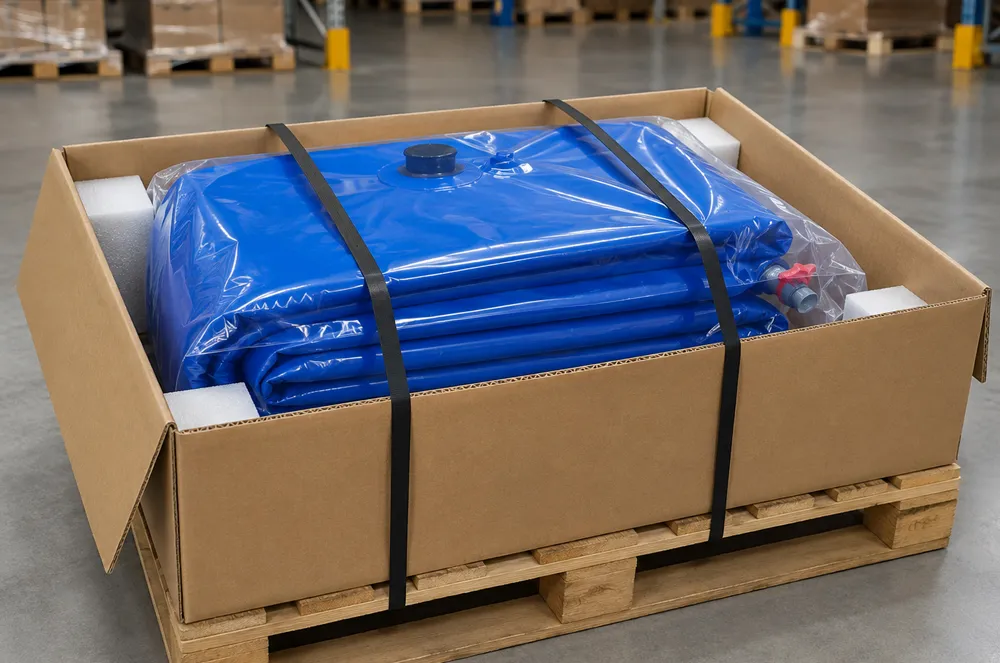
Use the original packaging or a container that supports the tank without crushing it. Store it away from direct sunlight, heat sources, sharp tools, rodents, oils, solvents, and incompatible chemicals. Keep the package off a wet floor and identify it with the tank ID, material, capacity, last liquid, cleaning status, repair status, and storage date. If storage conditions are controlled by the manufacturer, record those limits rather than substituting a general warehouse assumption.
After long storage, treat the next deployment as a recommissioning event. Inspect the package, unfold the tank without dragging it, allow the material to relax according to the approved method, and repeat the pre-fill inspection. A tank that was serviceable when packed can still be damaged by moisture, pests, heat, contamination, stacking pressure, or an incorrect fold.
Pillow Tank Repair: Patch, Factory Repair, or Replacement?
The location and failure mode matter more than the apparent hole size. A small isolated puncture in an accessible panel, well away from a weld or fitting, may be suitable for a field patch when the manufacturer confirms the repair system. Damage at a welded seam, corner, flange, valve, or reinforcement changes the load path and should trigger removal from service and technical evaluation. Delamination, repeated cracking, widespread hardening, severe deformation, or several aged areas may make factory repair or replacement the safer commercial decision.
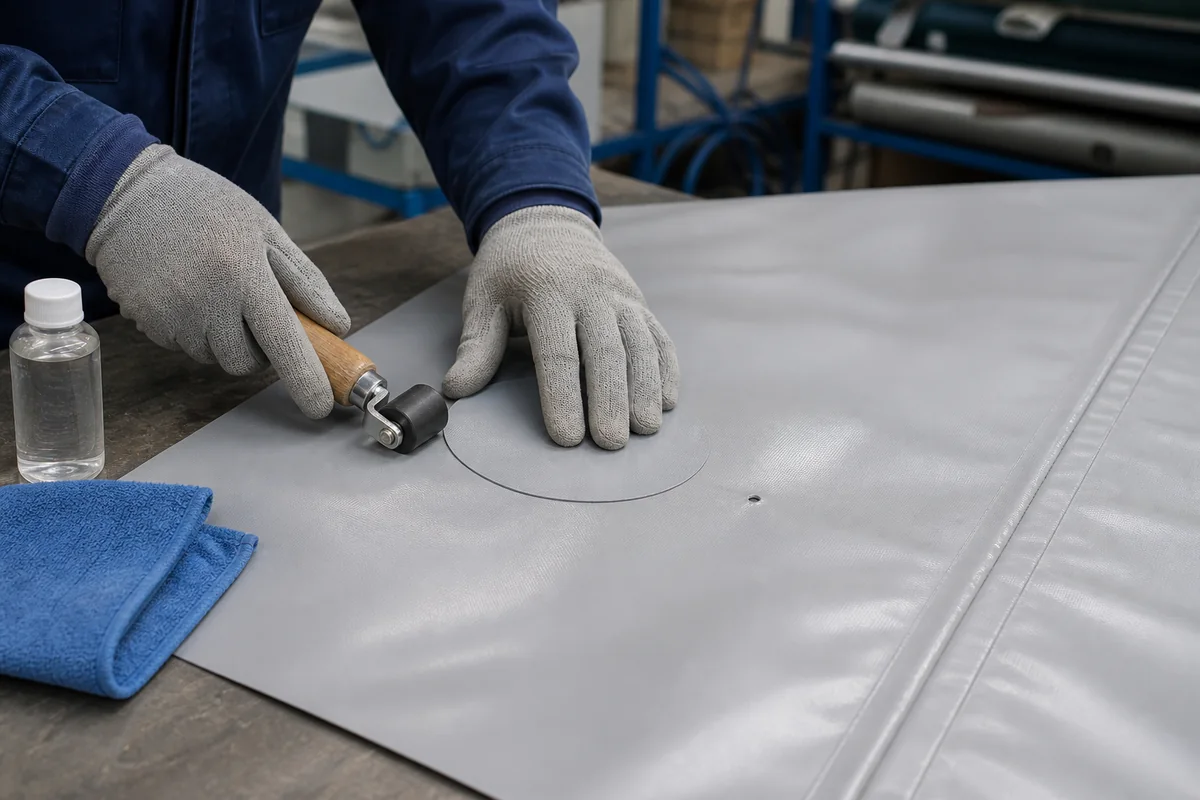
| Damage condition | Initial decision |
|---|---|
| Small, isolated panel puncture away from seams and fittings | Consider field repair only with confirmed matching patch material, adhesive or weld method, preparation, cure, and test procedure |
| Leak or damage at a weld, corner, flange, valve, or reinforcement | Stop use and send photographs, tank ID, liquid history, and operating details for manufacturer assessment |
| Delamination, continuous cracking, major deformation, widespread ageing | Quarantine; compare factory repair, service restriction, and replacement rather than stacking patches |
| Unknown previous repair or incompatible material | Do not cover it with another patch; identify the original repair system and inspect the surrounding laminate |
A pillow tank repair kit is not automatically interchangeable between PVC and TPU systems, between different coating formulations, or between adhesive and thermal repair methods. Surface preparation, patch orientation, overlap, temperature, pressure, cure time, and operator competence must come from the approved repair procedure. For the same reason, pillow tank leak repair should not be attempted while the tank is full or while the leaking liquid creates an uncontrolled exposure risk.
Document the original defect before covering it. Include a scale in photographs, mark its distance from the nearest seam or fitting, and record whether the area shows a puncture, cut, abrasion, coating crack, delamination, or stretched reinforcement. That evidence helps the supplier decide whether a patch restores containment or merely hides a structural problem.
Post-Repair Leak Testing and Maintenance Records
A repaired tank should not return directly to full operating capacity. After the approved cure or cooling period, inspect the patch perimeter and surrounding material, then conduct the manufacturer’s specified leak test. For a water-service tank, this may involve a staged fill on a prepared, contained site: hold at an initial level, inspect the repair, welds, fittings, and tank shape, then increase the fill in controlled steps. The method, hold periods, acceptance criteria, and final capacity must come from the repair authority and project requirements.
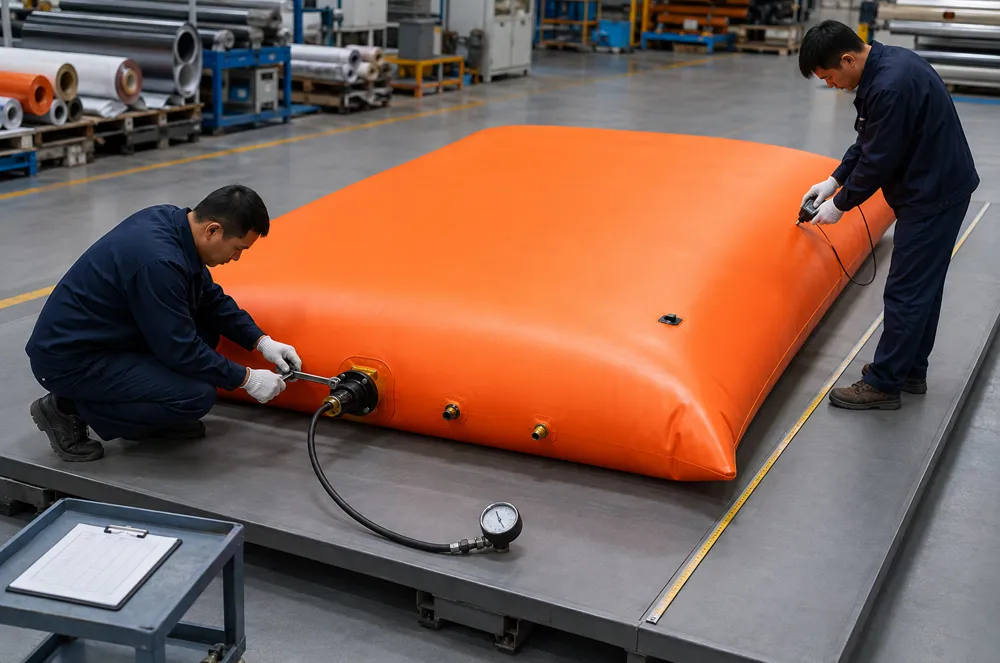
Keep a service record that follows the physical tank. At minimum, record the tank ID, material and capacity, liquid-contact history, site and ground condition, fill and drain dates, inspection findings, photographs, cleaning procedure, chemicals used, drying confirmation, repair materials, repair operator, cure conditions, leak-test result, restrictions, and next inspection date. For fleets or rental programs, this record prevents a tank from being reassigned to an incompatible liquid without review.
The practical outcome of good maintenance is not a spotless-looking package. It is a tank whose condition, liquid history, repair status, and release decision can be explained to the next operator. If you are specifying a new custom pillow tank, send the intended liquid, capacity, available footprint, service cycle, site surface, temperature and UV exposure, connection plan, target requirements, and order quantity. Those inputs allow the tank material, fittings, handling instructions, and maintenance documents to be aligned before production.